I am absolutely obsessed with this week’s lesson theme. I designed it to have heavy themes of dramatic play and self-expression with a focus on mathematic materials throughout the activities. I saw huge success with activity engagement and of course giggles.
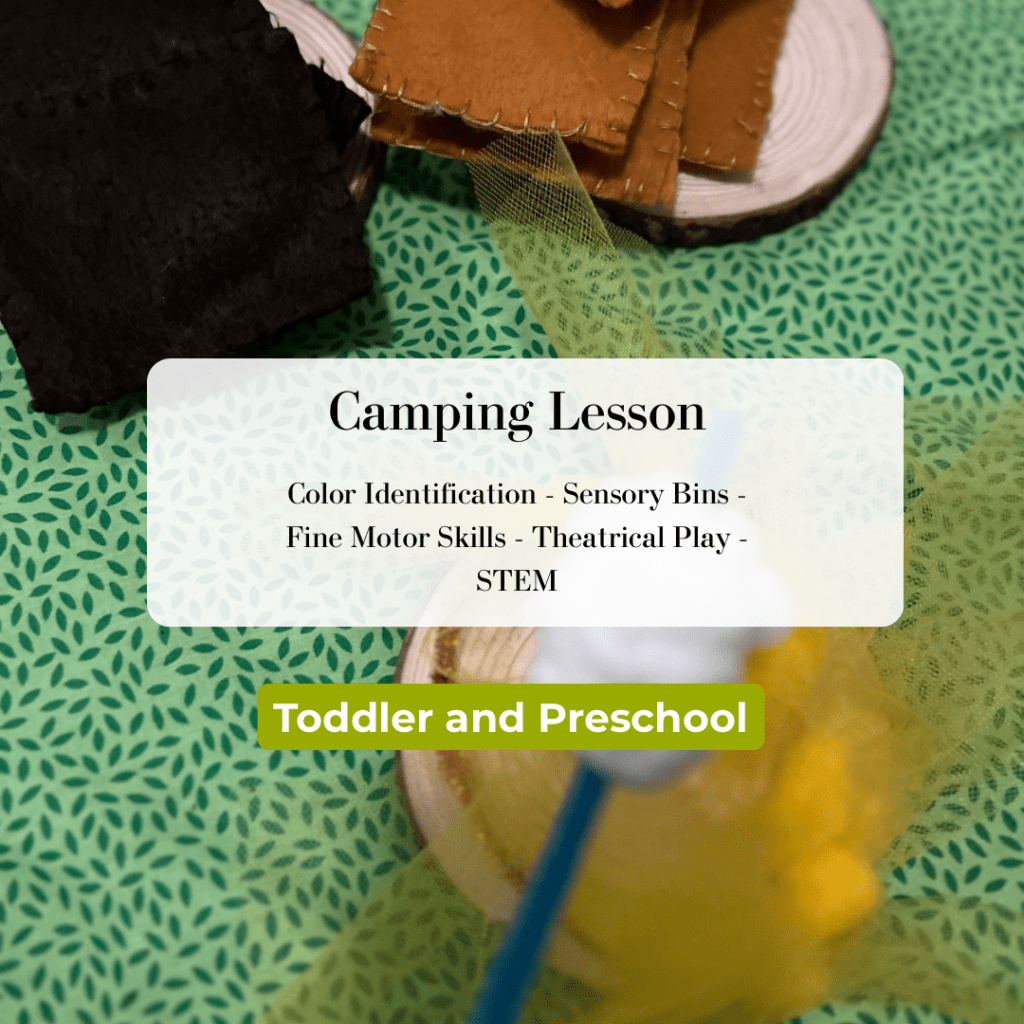
S’mores Theatrical Play
Smores theatrical PLAY
This is a sequencing activity that allows room for imaginative dialogue. It’s our belief that teaching a child to listen and follow directions is best done through practice during play and this activity does just that.
Materials can be purchased as made or DIY. If purchasing products, you can skip to parent guide for imaginative play instructions and parent guide that teaches you how to effectively play with your child and interact with materials.
Materials:
- Graham Cracker + Chocolate
- Brown Felt sheets (Used for Chocolate)
- Tan Felt sheets (Used for Graham Crackers)
- Brown embrodary thread
- Tan embroidery thread
- Needle
- Craft Fluff
- Marshmellow
- 8.0mm Crochet hook
- 8.0mm White Yarn
- Fire
- Yellow Tulle
- Pipe Cleaners
- Scissors
- Optional: Wooden Circles
If you have any medical conditions that can prohibit you from hand sewing, a hot glue gun is always a great substitute to the sewing portion.
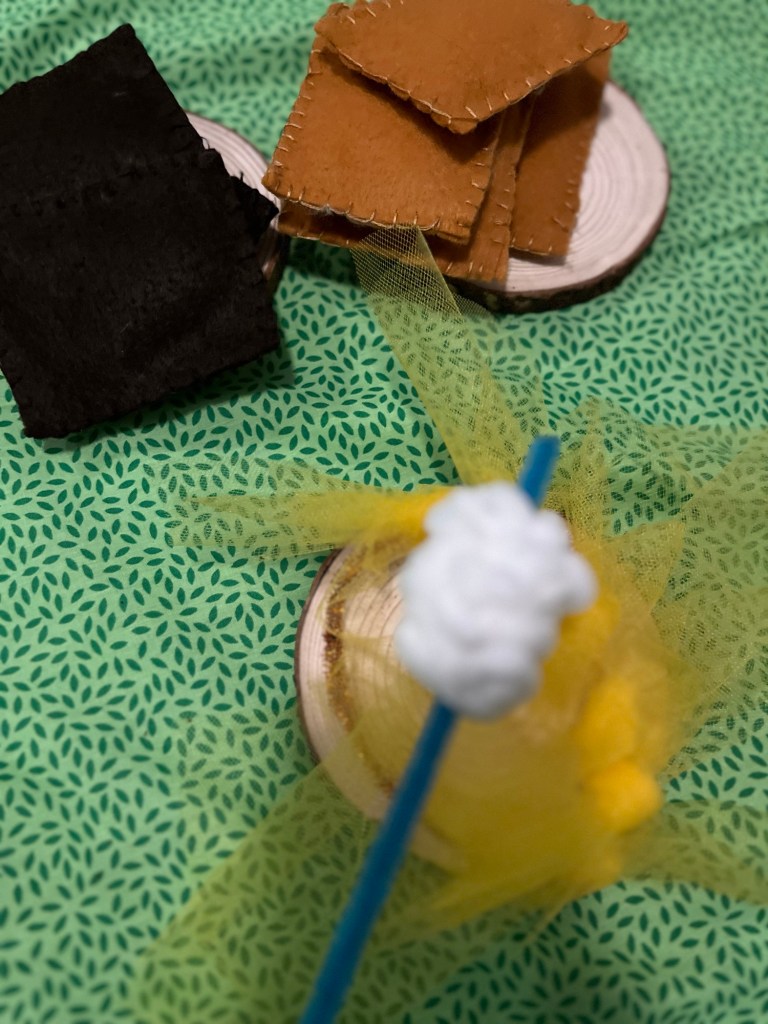
Graham Cracker + Chocolate
Start by cutting two equal size rectangles from the tan felt. This will create 1 piece; 4 rectangles will create 2 Graham Crackers.
Next you will want to use the tan thread to sew a blanket stitch to start connecting the two pieces together. Watch video tutorial for easy instructions.
After sewing or gluing together 3/4 of the rectangle, insert the craft fluff to desired fullness and complete sewing instructions. Repeat this process until you have a minimum of 2 crackers for each person participating in the activity.
Repeat this process with brown felt and brown embroidery thread, making the pieces either same size or smaller than the graham crackers. You will need one piece each set of two graham crackers.
Marshmallows
You will need to follow the pattern listed below to create the marshmallows, video instructions included below pattern.
Pattern:
Rnd 1: MR 6 (6sts)
Rnd 2: [inc] rep 6 times (12sts)
Rnd 3: [SC, inc] rep 6 times (18sts)
Rnd 4: SC, inc, [SC 2, inc] rep 5 times, SC (24sts)
Rnd 5: [SC 3, inc] rep 6 times (30sts)
Rnd 6: SC in BLO (30sts)
Rnds 7 – 15: SC in every st (30sts)
Rnd 16: SC in BLO (30sts)
Rnd 17: [SC 3, dec] rep 6 times (24sts)
Rnd 18: SC, dec, [SC 2, dec] rep 5 times, SC (18sts)
Stuff the Marshmallow
Rnd 19: [SC, dec] rep 6 times
Rnd 20: [dec] rep 6 times Fasten off and close.
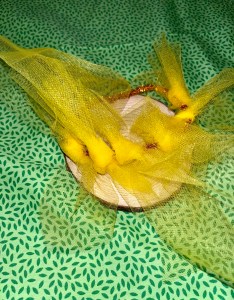
Fire
You need to take your tulle and cut into equal lengths of your choosing. We will be tying them around the pipe cleaners, so keep this in mind as you considered how large you want your flames to be and varying heights.
After cutting your tulle you will than ty it around your pipe cleaner adding about 12 or so tulle strips. You will than twist both ends of your pipe cleaner together. Now your fire is complete and we can move on to setting up our scene
Play Instruction
Young children especially in the preschool age group are gaining confidence in their autonomy and the best way to encourage this while still maintaing boundaries is having easy step by step instructions included in play.
Introduce the activity by:
“Today we are making smore’s”
“We can’t go camping without smores’s! First watch me and then we will do it together?”
“Woah! Do you hear that? My tummy is grumbling! Lets make some smores”
We want focused children. So engage in the silliness until you have your childs attention and than give clearn and concise instructions.
First we need two graham crackers. One for the bottom of the Smore and One for the top of the smore/
Next we will take one chocolate bar and place it on top of a graham cracker.
Now we will take a marshmellow and add it on top of the chocolate
Our last step is placing the second graham cracker on top.
Using inclusive language (“we”) while demonstrating the instructions can help a child to stay engaged while not directly participating. Another tip is using visuals, this can help children understand what order to complete the steps. Using visuals is an important tool when teaching executive functioning in children. You can make your own or use our free template.
Now allow your child to complete the steps on their own. This is play not a test, so do not correct. Depending on your parenting philosophy I would also encourage you to avoid compliments as well. If you do want to compliement focus on their efforts over results. We want children to think and play with their imagintion and own motivations. Not trying to impress mom or do what dad thinks is best. To prevent that, you can ask inquistive questions or make plain statements such as:
“I see the marshmellow is on top of two graham crackers”
“I can tell your putting a lot of effort into creating your smore”
“Can you tell me how you made it?”
“I see there isn’t a marshmellow on your smore. That seems like an interesting decision, how did you come to that choice?”
After following instructions, continue on with dramatic play. If you child isnt open to taking the lead in creative direction here are some themes that might make the activity more interesting for them.
“Talking animals using stuffed animals”
“A flood washing out the fire”
“Ants eating the smores”
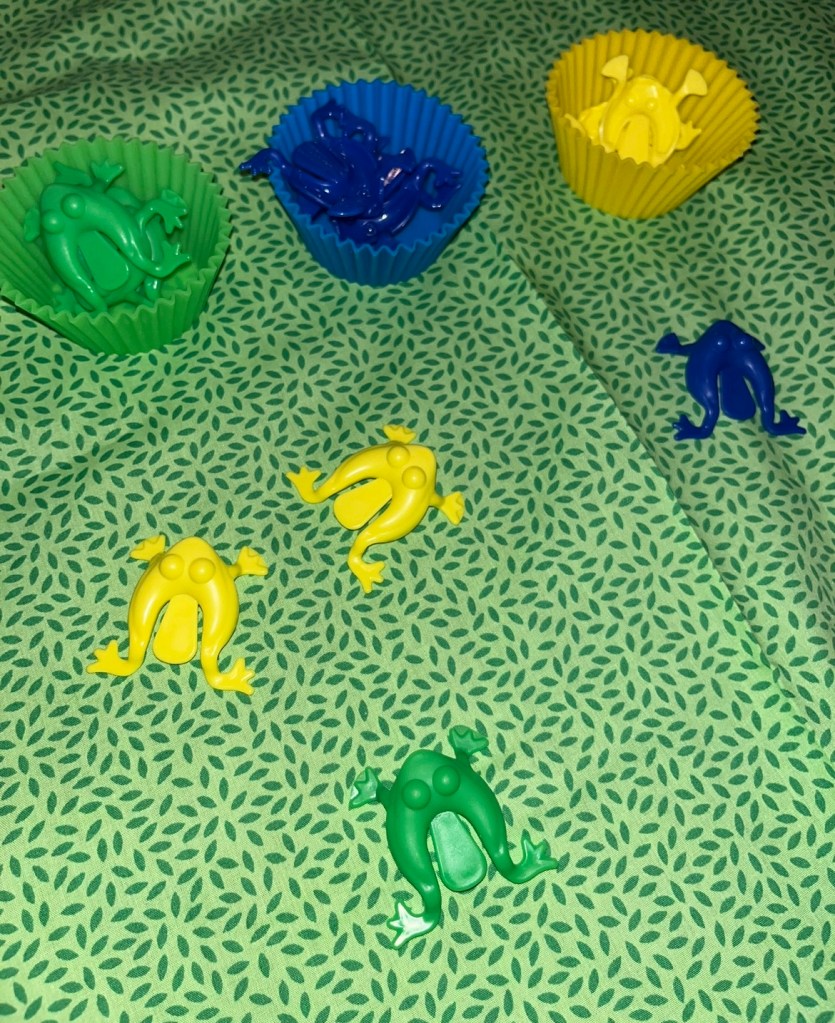
Hopping Frogs Color Sort
Did you know learning colors is a foundational block in learning math for toddlers? Not only will this activity work on hand strengthening, coordination, and colors, its also allows for numeracy skills with one to one correspondence.
Materials:
- Toy Frogs ( Blue, Yellow, Green)
- Cups (Blue, Yellow, Green)
- (Make sure the cups are large enough to fit the frogs)
Instructions For TODDLERS:
Place the frogs on a blanket or on the floor, keeping roughly about 5 inches in between them. Place the colored cups in row as the front of the frogs. Help identify the colors of the frogs and than place them in the matching cups. Have your child start with you and slowly allow them to play on their own. While watching your child place you can continue to give encouragement by making frog noises or saying hop hop hop. Anytime your child does one of these, repeat it back to them to show you are listening and playing along with them.
Parent Guide for TODDLERS:
“This is a blue frog. HOP! HOP! HOP! I am putting it in the blue cup. Can you help me find the blue frogs? Lets place them in the blue cup!”
If your child places a frog in the incorrect cup do not remove it. Instead encourage your child to fix the mistake themselves by vocalizing your observations.
“Uh OH! The blue frog is in the green cup.”
“Is the yellow cup where the green frog should go?”
If your child ignores your prompting than demonstrate the objective of the activity again. If it continues, take it as a sign your child is having fun and review colors at a later time.
Instructions for PRESCHOOLERS:
Place the frogs around the room with large gaps in between them. You can make this more challenging by placing the cups in different corners or by hiding some of the frogs under objects. If you are hiding the frogs, let your child know this when starting and feel free to give hints on their locations. Take pictures of the hiding spots ahead of time so you can keep track of the frogs.
Parent Guide for PRESCHOOLERS:
Following simple directions is a skill that many preschooler are working on in multiple environments. To help them practice their direction taking ability and build to more complex instructions break down the task like this:
“You will need to find the frogs in the room” “Some frogs may be hiding under things so ask me for hints if you need help.”
“The frogs are all different colors. Do you see the cups? They are also differrent colors.”
“Each Frog needs to be placed in its matching cup. Are you ready campers? GO GO GO.”
Using expressive sounds is also a great way to encourage child to work faster or stay focused on the task at hand. Either with animal sounds or music. You can make this activity more challenging by having your child hop to each frog or setting a timer.
Frog Pond Sensory Table
Sensory tables are great for giving a child a tactile experience that can potentially lead to them retaining information a high rate. This weeks sensory table is a little messy but full of feel good fun.

Materials:
- Sensory table
- Water
- Blue food dye
- Moss
- Pepples of Glass Beads
- Frogs
- Mat or Towel
- Kid Tweezers or Tongs
Place mat or towel under sensory table. Place water into sensory table. The amount will vary based on size, aim for a little over half way. Next mix in blue food coloring. Than add your filler; Moss and Pepples. After that take your frogs and place them on and under your filler.
Parent Guide
This sensory bins has three options for play for whatever most aligns with your childs learning goals.
Pre-writing
Use the the tweezers or thongs to grab the frogs out of the water and place them aside. Help your child with correct positioning aiming to use the tools with one hand. This exercises the pincher grasp with is crucial to learning how to write with a pencil
Color Identification
As your child uses the tools or their fingers to remove the frogs out of the pond, name the color of the frog. Have your child repeat after you. Once down, repeat the activity but have the child independently name the colors as they go.
Counting
Similar to color identification you will want to have your child count with the number of frogs are in the pond as they remove them. After repeating after you, have your child count independently.
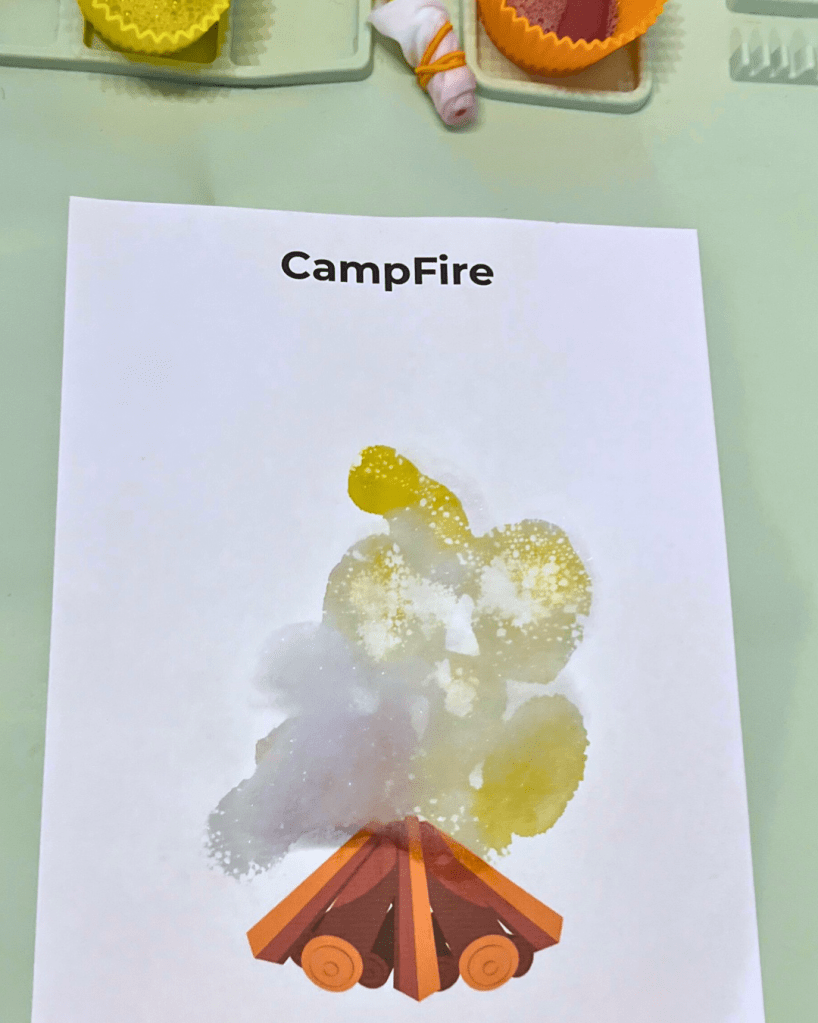
STEM Camp Fires
Materials:
- Large Milkshake Straws
- Wipes
- Rubber band
- Food coloring ( Your choice of yellow, orange, or red)
- Dish Soap
- Small cups
- Water
- Printable
Instructions:
Place a couple of drops of soap in a small cup and add water. Make sure to mix until a slightly bubbly solution. Next take straw and place a wipe around the opening of the staw. Children under the age of three have an easier time with a shorter straw, so cutting it in half is recommended. Next use the rubber band to secure the wipe. You will than need to print the campfire template.
First place the straw in the soap and water solution and than add a drop or two of the food coloring on top of the tip. Now blow over the paper. There will be streams of colored bubbles that will act like paint creating abstract flames on the logs.
Parent Guide:
Be mindful of young children wanting to inhale through the straw out of muscle memory. Practice blowing out of your mouths before hand and give reminders throughout the activity. Before securing the wipe on the straw, test your child’s ability to blow through the straw.
Camping Constellations
Materials:
- navy or black play-doh
- Yellow beads
- Yellow cup
- Tweezers
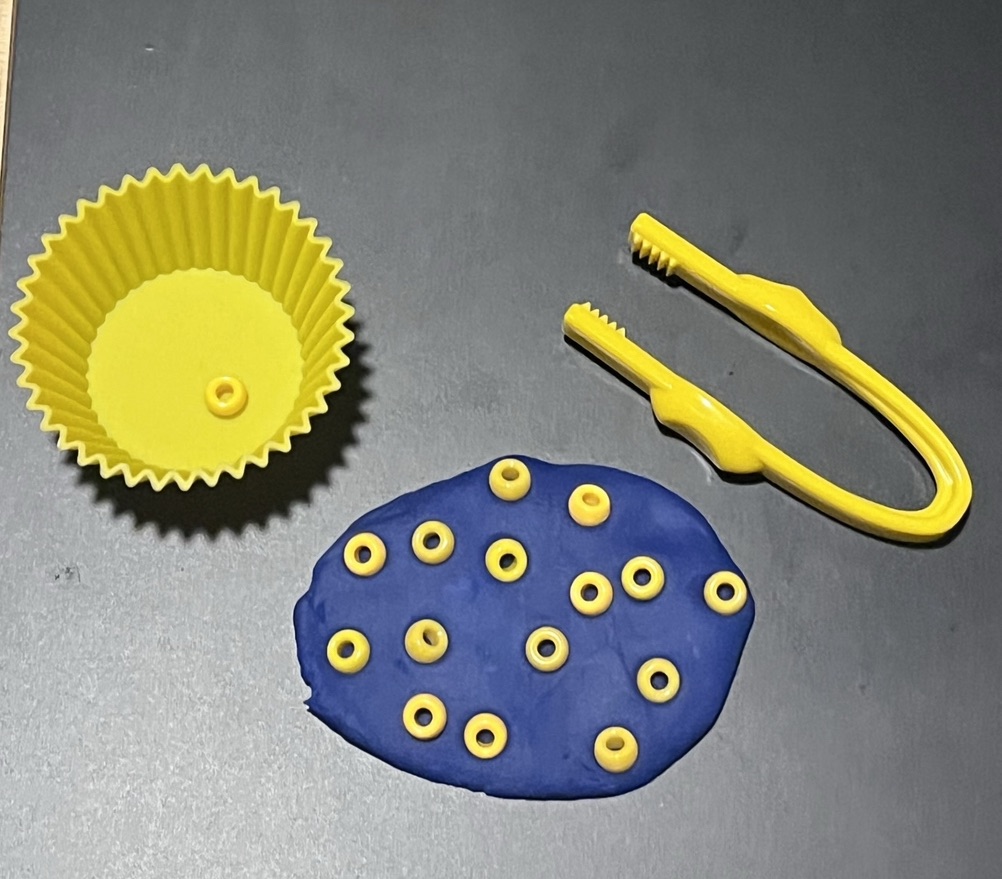
Roll out the playdough until its thickness is that of a pencil. place the yellow beads in it. Using fingers or tweezers to remove the beads and place them in the bowl.
This is developing their pincher grasp. The pincher grasp is when a child squeezes their thumb and index finger together while grasping something. This allows for more control of hand and finger muscles.
Parent Guide
Explain what each material represents; the play dough is the sky and beads are the stars. We readd from a child’s encyclopedia about stars and constellations but children’s fiction books will also help give children a good concept of what they are learning about in this activity.
Night Sky Arts n Craft
Materials:
- Star Stickers
- Water ColorPaint ( Deep shades of blue, purple, green, and black)
- Paint Brush
- Card stock or Paper cut into a small rectangle
- Yellow Star Stickers
- Small cup of water

Have your child paint the night sky on the card stock. This will be the night. After it dries have your child peel the stickers and place on the sheet.
Parent Guide
When peeling the stickers off slightly bend the page so it’s easier for your child to get a grip on the star. Its super important to not control how many stickers your child uses and their placement. We do not want to limit their creativity or discourage them from participating in future crafts. If stickers fall on top of each other or hang off the page, know that it is ok!


Leave a comment